FTC Disclosure: If you make a purchase via a link on this site, I may receive a small commission on the transaction - at no added cost to you - this is my side job to being a mom and it helps to support our family, so I greatly appreciate it!
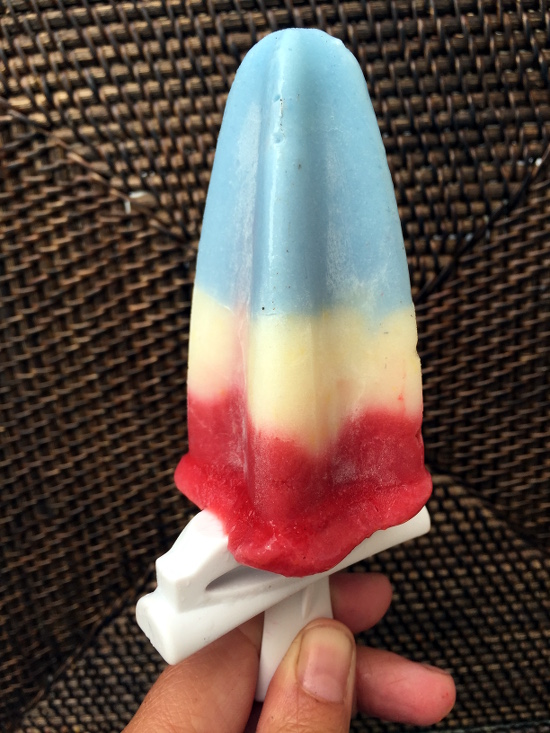
Homemade Vegan Bomb Pop
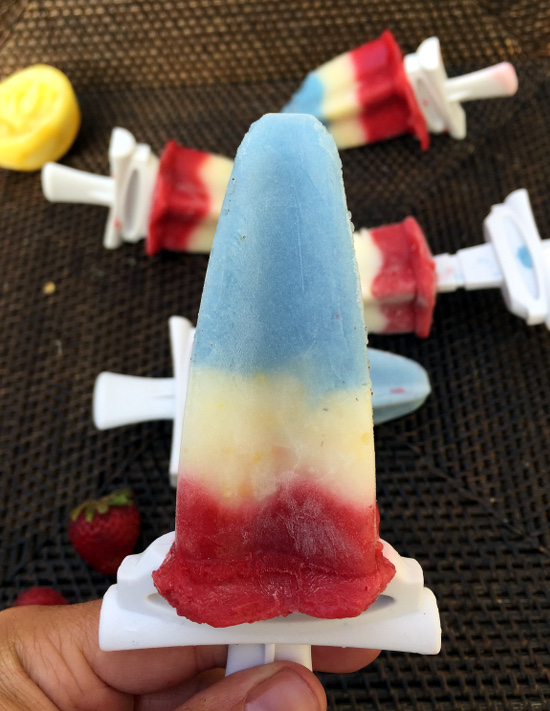
As a kid, my all-time favorite pick at the ice cream cart was the Bomb Pop. I was a sucker for the fruity flavors, but let's be honest... there was really nothing fruity about it. I just came up with the perfect redo, and one that I am happy to feed my vegan kids.
This version is truly fruity, and it's also creamy from coconut milk yogurt. I didn't need to add any extra sweetener since my yogurt was sweetened, but you could always use unsweetened and add a touch of maple syrup. It has a really nice bite to it, thanks to the trick I learned for freezing these properly (see below!)
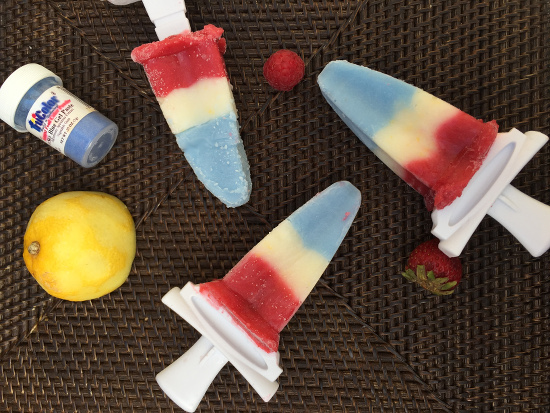
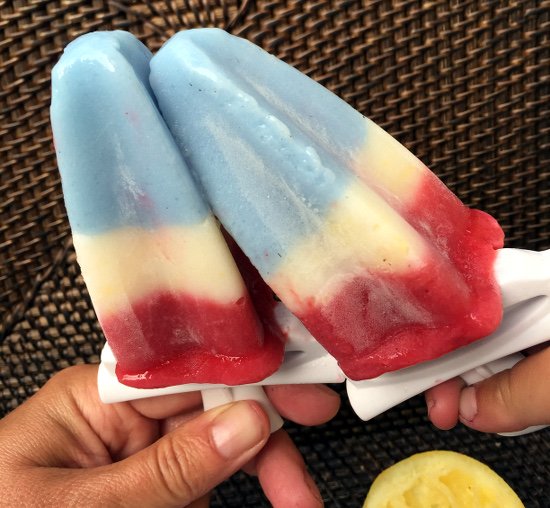
They're so pretty and festive.
Popsicle Fails and New Tricks
I've been trying to make Bomb Pops every summer for a few years. The main issue I have is getting that blue the right color. Blueberries seem to be the obvious choice, but you probably know they are purple when blended, and it gives the popsicle such a healthy (and purple) look to it. It's just not right! It needs to be almost neon blue.
This year I found the
trick. Blue spirulina powder! It's become all the rage on instagram in
smoothie and acai bowls. It turns out my natural food coloring actually had blue spirulina extract in it so I could have been making beautiful
blue smoothies all along. There's one specific brand called Blue Majik
that is easy to find on Amazon, but you could also use the food dye I
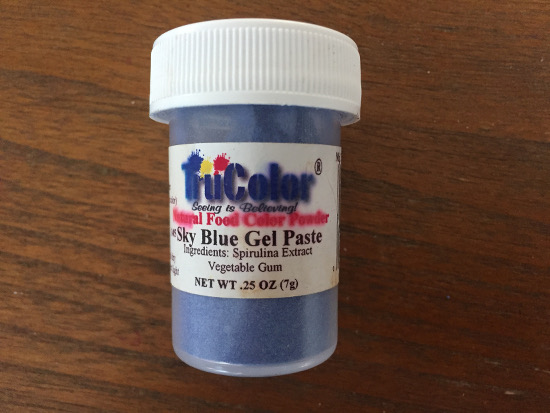
used. It's called TruColor and Sky Blue color ended up being that perfect neon blue for the Bomb Pop tip.
I also read about a cool tea made from Butterfly Tea flowers that is a beautiful color blue, and it even changes to purple when you add an acid to it. Hello homemade Starbucks unicorn Frapp!
The second challenge of the bomb pop is the actual popsicle mold. I've been using the standard molds for years, the ones where you have to really think ahead if you want to eat a popsicle so you can make it the day before. That doesn't go over well with kids; they want it now and trying to explain the delay before we can eat our work is too much to handle.
This year I discovered the glory of the quick freeze popsicle. The most famous brand is Zoku, and it gets great reviews. It's the same idea as the ice cream maker-- you freeze the base of it and then when you add in your popsicle mix it freezes all around the exterior of the popsicle and gradually freezes into the middle. Because it freezes so fast, you don't get those icy crystals and instead it's nice and smooth like a popsicle from the box. You can also use fresh juices without worrying about the water separating and leaving that nasty chunk of plain ice at the top of the popsicle.
The downside to the quick freeze popsicle molds is they're pricey. I found a used one on craigslist that we love, but even if you pay full price, they're totally worth it if you make popsicles somewhat often. You do also have to remember to put the popsicle mold in the freezer several hours ahead of time, but it doesn't take up much space so you could leave it in there indefinitely.
Making striped popsicles is super easy and fast with this kind of popsicle mold. By the time you have the next layer blended, it's time to add it to the mold. My directions below are going to be for that type of mold, but you can just add time to the directions for a traditional mold.
Vegan Bomb Pop Recipe
Blue Layer:
- 1/2 c. vanilla yogurt (I used sweetened coconut milk yogurt but unsweetened would be great as well. I'd add a teaspoon of maple syrup to sweetened it a bit)
- 3/8-1/2 tsp. spirulina powder or natural blue food dye
White Layer:
- 1 c. vanilla yogurt
- zest of 2 lemons
- juice from 2 lemons (about 2-3 Tbsp.)
Red Layer:*
- 1 pint raspberries
- 3-5 strawberries
- 1/3 c. freshly squeezed orange juice
*You could also use just watermelon for the red layer. It's the perfect color and all you'd need to do is blend it up and add it to the top layer, no extra juice needed.
This makes about 6 small sized bomb shaped popsicles. They're all such different shapes that it's hard to give estimates for how many it will make for you. You might end up needing more of one or two of the layers, but this gives you an idea of the measurements that worked for me.
Directions for Making the Bomb Pop
Start with the blue layer, which will be at the bottom of the popsicle mold. Blend all the ingredients until they're smooth. Using a funnel, drop in enough blue yogurt to fill about 1/3 of the mold. Give it a few minutes to freeze and then move to the next layer. (If you're using a traditional popsicle mold you'll need to freeze this longer, perhaps 30 minutes, until it's solid enough that the two colors don't mix together but not fully frozen where you can't put the popsicle stick into it.
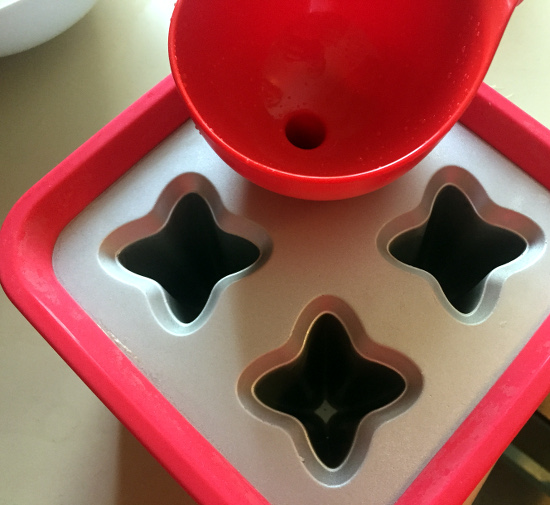
Move onto the white layer by mixing the yogurt, lemon juice, and lemon zest in a small bowl. Rinse out your funnel and then drop in the yogurt until the mold is 2/3 full of popsicle. Again give it time to freeze.
You'll need to rinse out the blender for the red layer, and then add the red ingredients and fill to the top of your popsicle mold.
At this point I insert the popsicle stick and just wait for it to freeze. If you have a quick freeze popsicle mold, now starts the few minutes in which your kids ask you over and over if it's ready to eat yet. (If you have a traditional mold that has to go in the freezer, best wishes on explaining the countdown.)
Note: Amazon links on this page are affiliate links, so if you click one and decide to buy something, I get a small commission that I'll use to buy more fancy gadgets like popsicle makers and then tell you all about them on this website!




New! Comments
Have your say about what you just read! Leave me a comment in the box below.